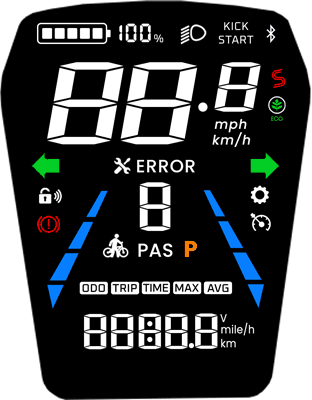
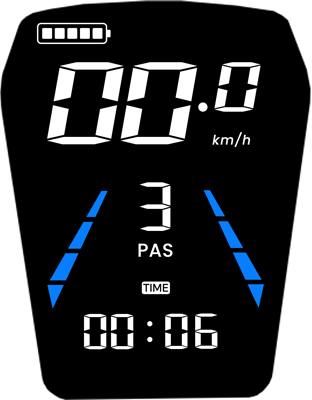
 Power Button – To turn the electric scooter ON or OFF, press the power button for 3 seconds.
  Mode Button – The mode button allows you to toggle through different display parameters when the electric scooter is turned ON. The available parameters are further elaborated below. It is also integrated with light switch to turn the lights on or off.
 /
/  Turn Indicators – These buttons will turn the left and right signal lights on or off respectively.
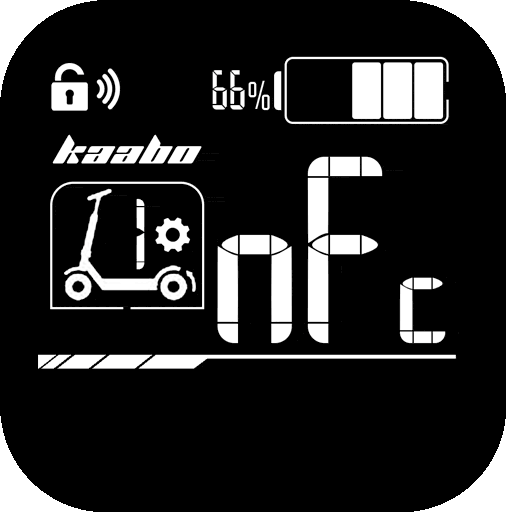
 NFC Card – This throttle display support NFC for locking and unlocking. The section between the display is the NFC induction area that can be used to unlock the electric scooter. Whenever you see this icon in this user guide, tap the NFC card at the induction area.
 NFC indicator – The NFC indicator signals interaction with the NFC tag.
 Parking Indicator – When this indicator is lit, it means the electric scooter is in parking mode.
 Braking Indicator – This indicator shows when the brakes are engaged.
 Error indicator – The error indicator shows when the electric scooter needs attention and something is faulty.
 Auto Cruise Control indicator – The auto cruise control indicator shows when it is enabled.
- GEAR – This electric scooter can be switched between three gears. Think of it as a “speed limiter” where gear 1 sets the electric scooter to its slowest speed while gear 3 sets it to the highest speed. Unlike conventional vehicles where you have to start with the lower gear and shift to the higher one as you move, electric scooters allow you to start with the top gear right away if you want to. You would want to switch to lower gear when you are riding in a busy area and use a higher gear when the street is less crowded.
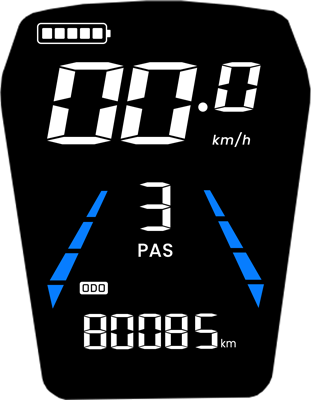
- Speed-o-meter – The two large digits on the display shows the speed that the electric scooter is cruising at.
- Battery Indicator – The battery indicator shows a rough estimate of the battery level of the electric scooter. Typically, when the battery drops down to the last block, you should be getting ready to recharge the electric scooter.
- Throttle – The throttle stick functions as the electric scooter’s accelerator. It is a variable throttle, which means, the electric scooter’s speed changes according to how deep the throttle is pressed. If the “kick start” mode is enabled (indicated by the “Kick Start” icon on the display), you will need to give the electric scooter a gentle push to glide before pressing the throttle to get it moving.
Long press the ![]() Power Button for 3 seconds to turn on the electric scooter, the display will enter into NFC locked mode.
Power Button for 3 seconds to turn on the electric scooter, the display will enter into NFC locked mode.

Long press the ![]() Power Button to turn on the electric scooter, the display will enter into NFC unlocking interface, and the
Power Button to turn on the electric scooter, the display will enter into NFC unlocking interface, and the ![]() NFC indicator will blink. Tap the
NFC indicator will blink. Tap the ![]() NFC card at the NFC induction area to unlock the scooter. Once the electric scooter is unlocked, the NFC indicator will disappear and the instrument panel will display the previously defined information. You can also turn off the electric scooter by tapping the NFC at the NFC induction area while its turned on.
NFC card at the NFC induction area to unlock the scooter. Once the electric scooter is unlocked, the NFC indicator will disappear and the instrument panel will display the previously defined information. You can also turn off the electric scooter by tapping the NFC at the NFC induction area while its turned on.
Long press the ![]() Power Button to turn on the electric scooter, the display will enter into NFC unlocking interface, and the
Power Button to turn on the electric scooter, the display will enter into NFC unlocking interface, and the ![]() NFC indicator will blink. Now press the
NFC indicator will blink. Now press the ![]() Mode Button to enter the password interface. The default password is 1500. Press the
Mode Button to enter the password interface. The default password is 1500. Press the ![]() Mode button to increase the value and the
Mode button to increase the value and the ![]() Power button to move on to the next value. Once the password is entered correctly, the electric scooter will unlock.
Power button to move on to the next value. Once the password is entered correctly, the electric scooter will unlock.
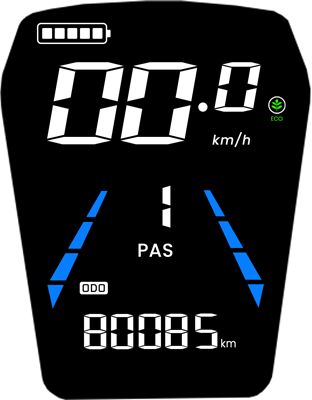
- Gear 1 – Slowest speed (Eco Mode)
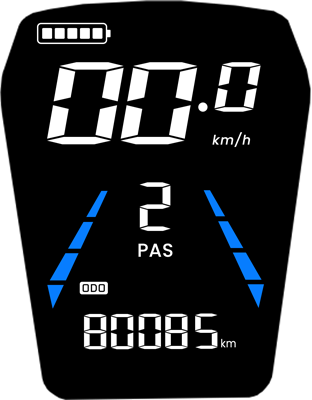
- Gear 2 – Medium speed
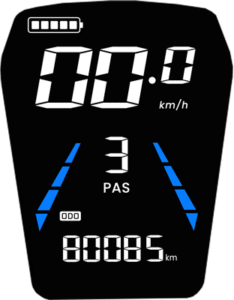
- Gear 3 – Maximum speed
To switch between the gears, press the ![]() Mode Button to increase. Keep pressing to cycle again to the first gear.
Mode Button to increase. Keep pressing to cycle again to the first gear.
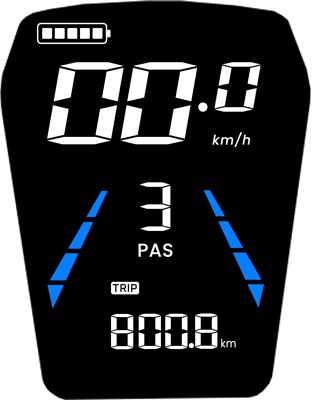
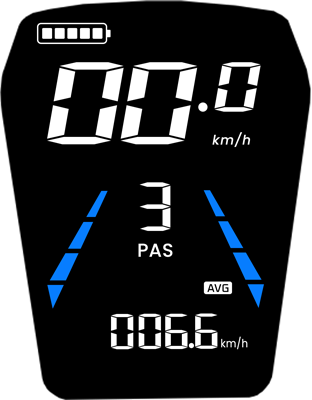
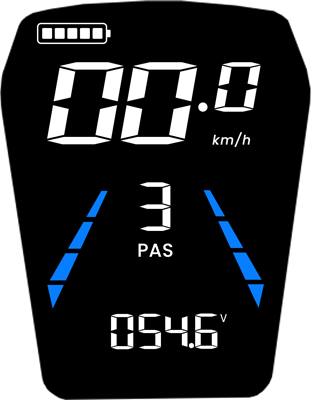
While the scooter is turned ON, pressing the ![]() Power Button cycles through several parameters that gives you a quick glance at necessary information. The modes will cycle between the following:
Power Button cycles through several parameters that gives you a quick glance at necessary information. The modes will cycle between the following:

For the safety of pedestrians, this electric scooter comes with pedestrian mode which is a very convenient mode to walk along with the electric scooter. When this mode is enabled, the speed will be limited to 5km/h.
To enable the pedestrian mode, when the electric scooter is turned on, press the ![]() Mode Button twice quickly. The
Mode Button twice quickly. The ![]() pedestrian indicator will light up. Now, press the throttle and walk together with the electric scooter through busy pedestrian streets seamlessly.
pedestrian indicator will light up. Now, press the throttle and walk together with the electric scooter through busy pedestrian streets seamlessly.
The electric scooter comes with Electronic Braking System (EBS) and Anti-lock Braking System (ABS) that delivers enhanced braking using electronic mechanism. When the brakes are engaged, the controller receives the EBS status signal that cuts off all electronic power supply to the motor and provides feedback to the brake status on the display. In braking state, the ![]() brake indicator icon will light up.
brake indicator icon will light up.
There are two options for Auto Cruise Control; Mode 0 and Mode 1.
Mode 0 – Auto Cruise Control OFF
In this mode, cruise control is completely disabled. This setting is ideal for new riders or for city riding where constant speed adjustments are necessary. Holding the throttle steady will not activate cruise control in this mode, giving you full manual control at all times.
Mode 1 – Auto Cruise Control Enabled
In this mode, the ![]() auto cruise control indicator is shown on the display and it activates automatically. When you hold the throttle in a fixed position for about 7 seconds, the
auto cruise control indicator is shown on the display and it activates automatically. When you hold the throttle in a fixed position for about 7 seconds, the ![]() auto cruise control indicator will blink continuously to indicate that auto cruise mode has been engaged. You can then release the throttle, and the electric scooter will continue at the same speed until you tap the brake or press the throttle. This mode is best for long, uninterrupted roads where maintaining a constant speed is beneficial.
auto cruise control indicator will blink continuously to indicate that auto cruise mode has been engaged. You can then release the throttle, and the electric scooter will continue at the same speed until you tap the brake or press the throttle. This mode is best for long, uninterrupted roads where maintaining a constant speed is beneficial.
The electric scooter includes a Kick Start function, which determines how the motor engages from a standstill.
When Kick Start is ON (enabled by default), the scooter requires a small manual push – such as kicking off with your foot before the throttle becomes active. This is called a non-zero start, and it prevents accidental acceleration from a dead stop. This is indicated by the ![]() kick start indicator on the display.
kick start indicator on the display.
When Kick Start is OFF, the scooter enters a zero start mode, allowing you to accelerate directly from a complete stop by simply pressing the throttle – no kick-off needed.
| Battery Level (%) | Battery Icon | Description |
|---|---|---|
| 80% and above |  |
Full battery; all 5 bars are displayed |
| 60% – 79% |  |
Displays 4 bars |
| 40% – 59% |  |
Displays 3 bars |
| 20% – 39% |  |
Displays 2 bars |
| 10% – 19% |  |
Displays 1 bar |
| 5% – 9% |  |
No bars displayed |
| Below 5% |  |
No bars; battery icon blinks at 1Hz to indicate critically low power |
The Kaabo KM04 display throttle includes basic settings that allows tweaking of common settings of the electric scooter and its display. To access the P-Settings menu on your electric scooter:
- Turn on the electric scooter by long pressing the Power Button.
- Then, long press both Mode Button and Power Button simultaneously to enter the settings menu.
- Next, cycle through the settings by pressing the Power Botton.
- To adjust the setting, press the Mode Button and the setting’s parameter will change.
- To exit P-settings, long press the Power Button.
Here’s what each P-setting does:
- With the scooter turned on and unlocked, press the
 Mode Button 10 times quickly. The electric scooter will enter NFC pairing mode. This will be indicated by the NFC text and NFC icon blinking.
 - Now tap the NFC tag at the NFC induction area until the NFC indicator stops blinking.
- Repeat steps 2 – 3 for additional NFC tags. If you’re done with the pairing, long press the
 Mode Button to exit NFC pairing mode.