
 Power Button – To turn the electric scooter ON or OFF, press the power button for 3 seconds.
  Mode Button – The mode button allows you to toggle through different display parameters when the electric scooter is turned ON. The available parameters are further elaborated below.
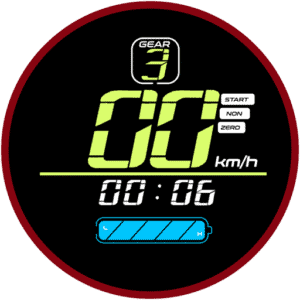
- GEAR – This electric scooter can be switched between three gears. Think of it as a “speed limiter” where gear 1 sets the electric scooter to its slowest speed while gear 3 sets it to the highest speed. Unlike conventional vehicles where you have to start with the lower gear and shift to the higher one as you move, electric scooters allow you to start with the top gear right away if you want to. You would want to switch to lower gear when you are riding in a busy area and use a higher gear when the street is less crowded.
- Speed-o-meter – The two large digits on the display shows the speed that the electric scooter is cruising at.
- Battery Indicator – The battery indicator shows a rough estimate of the battery level of the electric scooter. Typically, when the battery drops down to the last block, you should be getting ready to recharge the electric scooter.
- Throttle – The throttle stick functions as the electric scooter’s accelerator. It is a variable throttle, which means, the electric scooter’s speed changes according to how deep the throttle is pressed. If the “kick start” mode is enabled (indicated by the “Zero” icon on the display), you will need to give the electric scooter a gentle push to glide before pressing the throttle to get it moving.


- Gear 1 – Slowest speed
- Gear 2 – Medium speed
- Gear 3 – Maximum speed
To switch between the gears, first, press the ![]() Power Button. This will cause the gear number on the display to flash. While it is flashing, press the
Power Button. This will cause the gear number on the display to flash. While it is flashing, press the ![]() Mode Button to cycle through your preferred gear. To stop the gear from flashing, you can either press the
Mode Button to cycle through your preferred gear. To stop the gear from flashing, you can either press the ![]() Power Button again, or leave it for 2 seconds and it will stop flashing automatically.
Power Button again, or leave it for 2 seconds and it will stop flashing automatically.
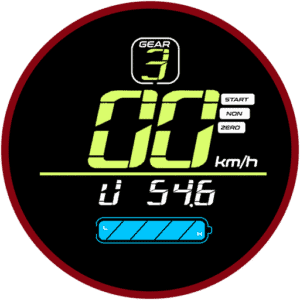
While the scooter is turned ON, pressing the ![]() Mode Button cycles through several parameters that gives you a quick glance at necessary information. The modes will cycle between the following:
Mode Button cycles through several parameters that gives you a quick glance at necessary information. The modes will cycle between the following:


To access the P-Settings menu on your electric scooter:
-
Press and hold the
Power Button and Mode Button simultaneously at the same time for 2 seconds.
This will open the advanced settings menu. -
Insert the password to enter the P-settings menu.
The default password is 1500. Use the Mode Button to increase the value and Power Button to move to the next digit. Once you have entered the password, long press the Power Button to enter the P-settings. -
Use the
Mode Button to cycle through the P-settings.
Each press switches to the next setting. -
To select a setting to change, press the
Power Button.
Then, adjust the value:-
Mode Button: Increase the value.
-
Power Button: Decrease the value.
-
-
To confirm and return to the P-Settings menu, wait 2 seconds.
To exit P-Settings completely and return to normal riding mode, wait another 3 seconds or press the Mode Button and Power Button simultaneously again.